SHOP MY PLANNER PRODUCTS

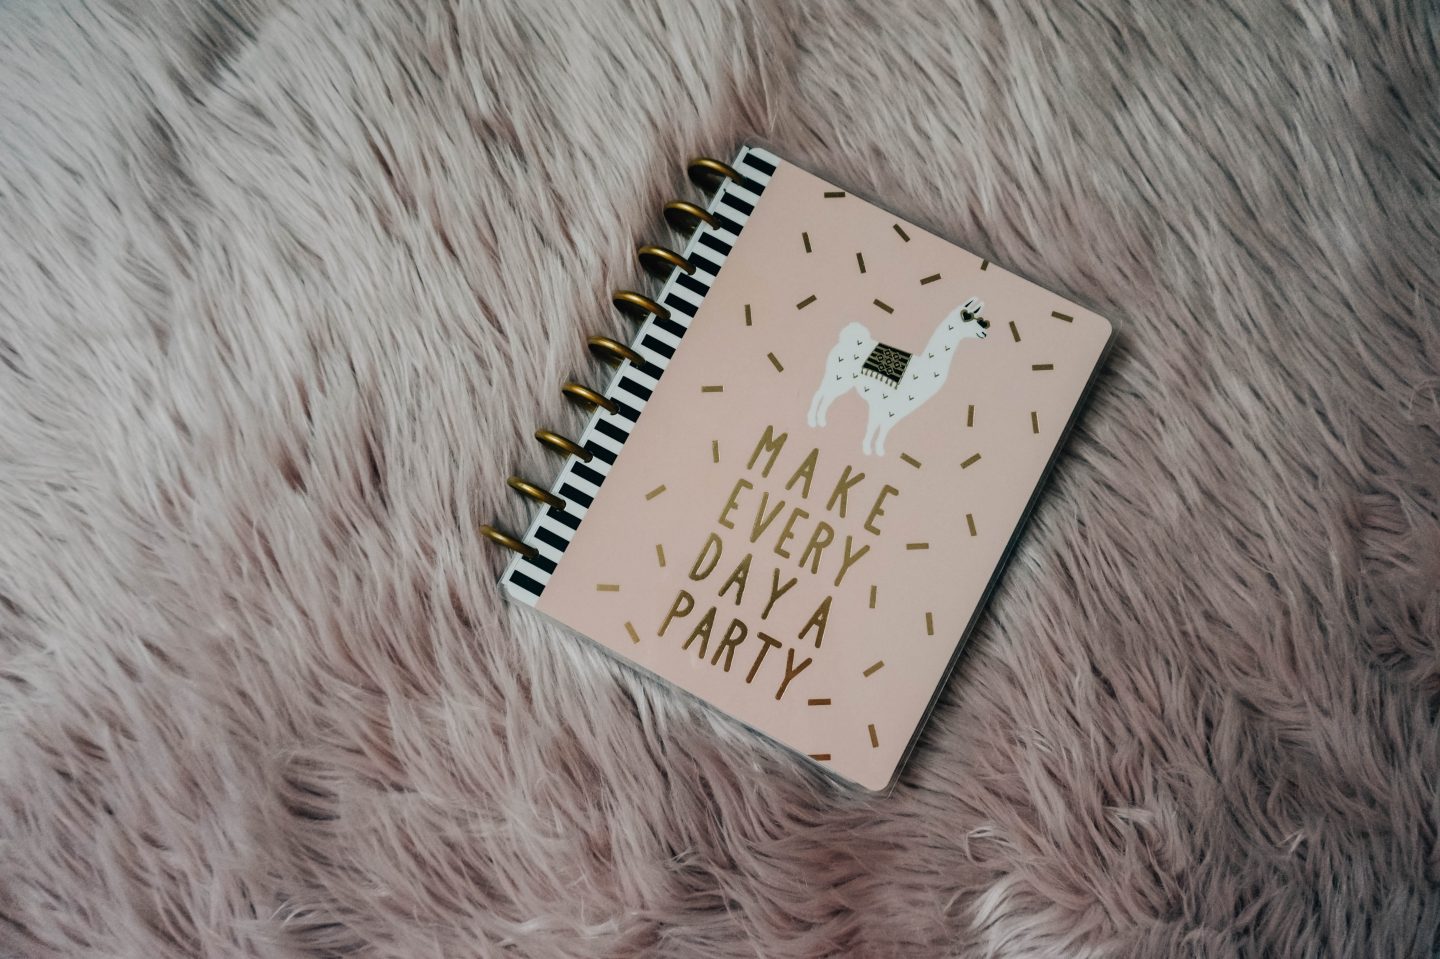
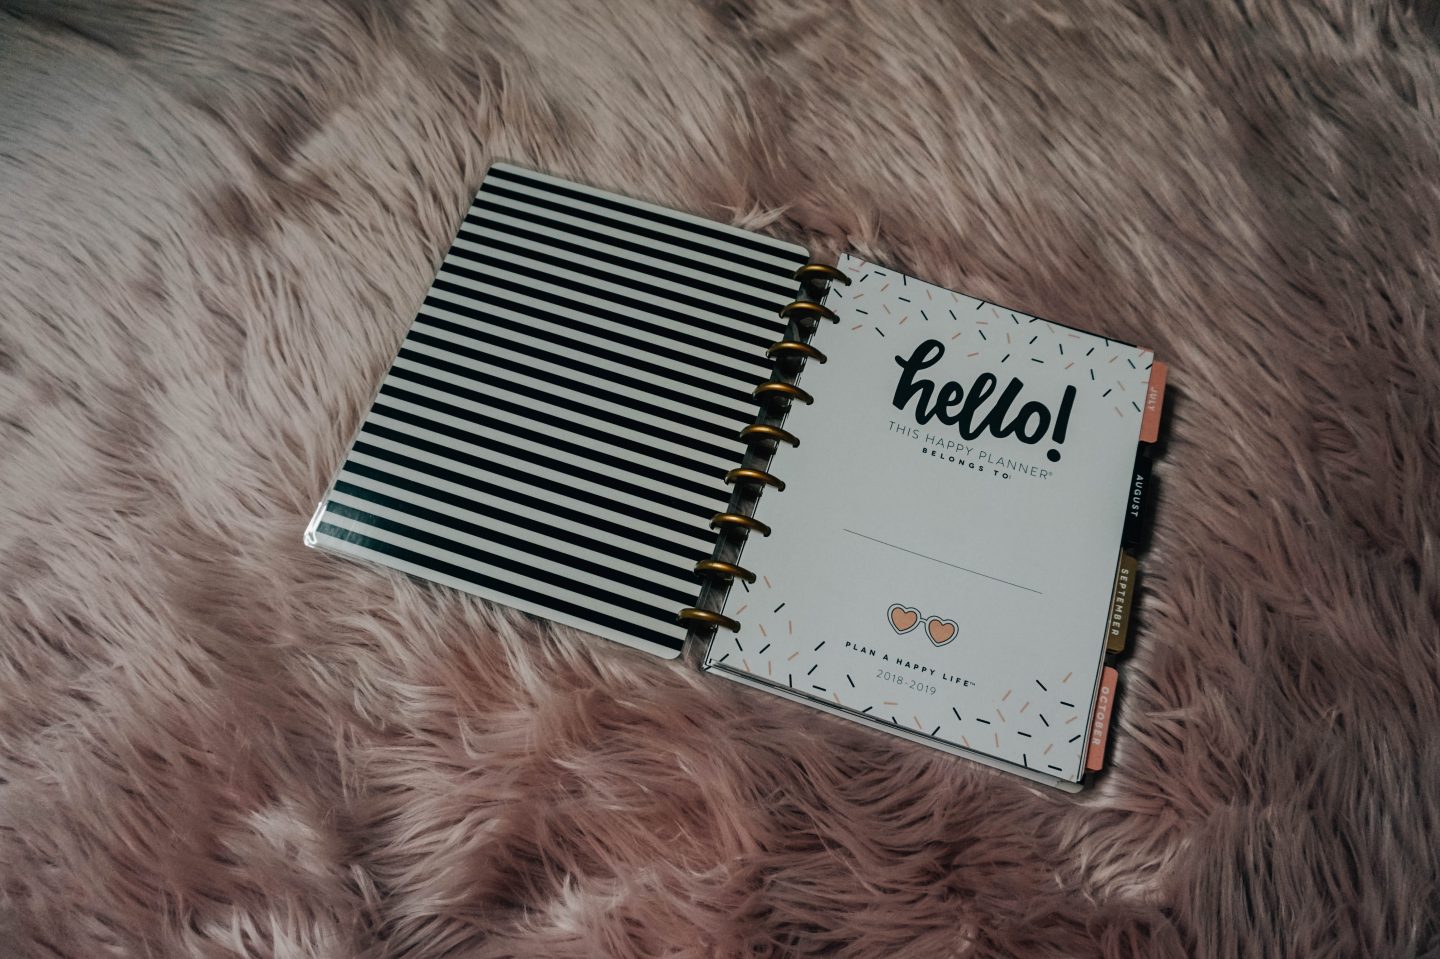
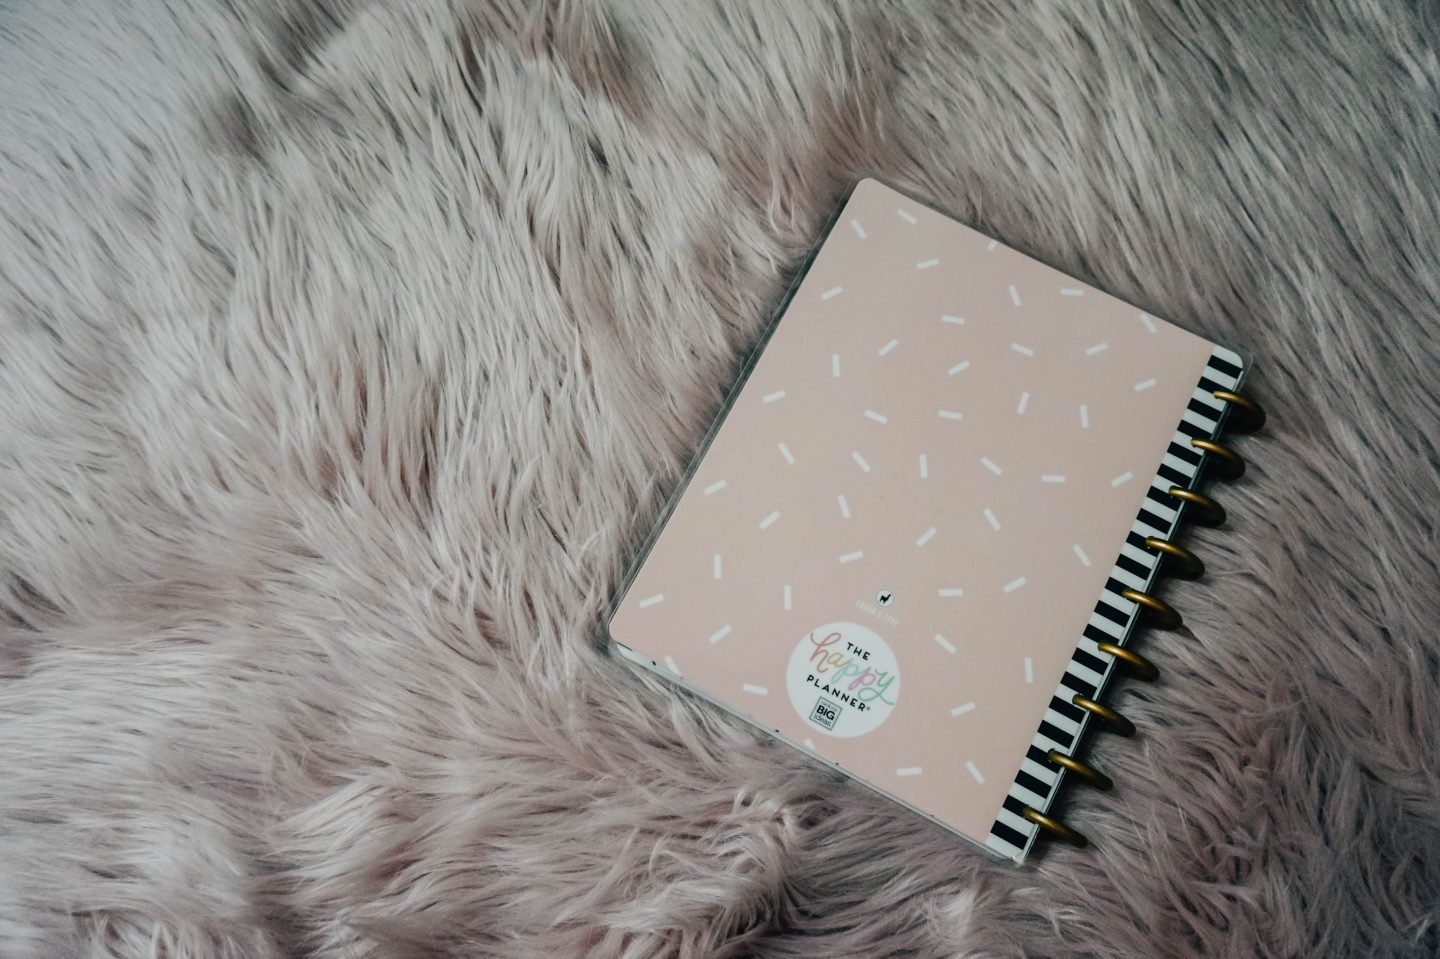
Happy Friday, babes! I’m so excited to share this post with you all today! A huge part of my life revolves around my planner. I carry it everywhere with me, literally everywhere. I know it may sound crazy, but I literally feel naked without it. Unless I’m going out for a night, this baby is in my tote! I take it to work, all outings, travel with it, etc. You name it, this planner goes with me! A few years ago I was on the search for the perfect planner. For the longest time I had been using regular planners from boutiques and Target, but as life got busier and I became more organized, I wanted something that fit my lifestyle. I did a lot of research on which planners would work best for me. The first one that came to mind for me was the Erin Condren planners. I loved that you could customize it and I loved the layouts inside the actual planner. But I was not so thrilled about the price tag or the wait time (I’m the most impatient person ever). I searched on Amazon, went into stores, looked at blog posts – I literally did everything I could think of to find a new planner. Then one day I just so happened to be in Michael’s for something when I came across The Happy Planner. What first drew me to the planners were the covers. The first one I had from them was the classic sized planner with a floral cover. I opened up the planner in the store and absolutely fell in love with it. I know this probably all sounds so lame, but I have always been obsessed with office supplies, so this stuff makes me over joyed. I loved that each planner was different. Each planner’s cover indicated a theme which flowed throughout the pages. The planner also come in horizontal and vertical spreads which is great because there truly is something for everyone!
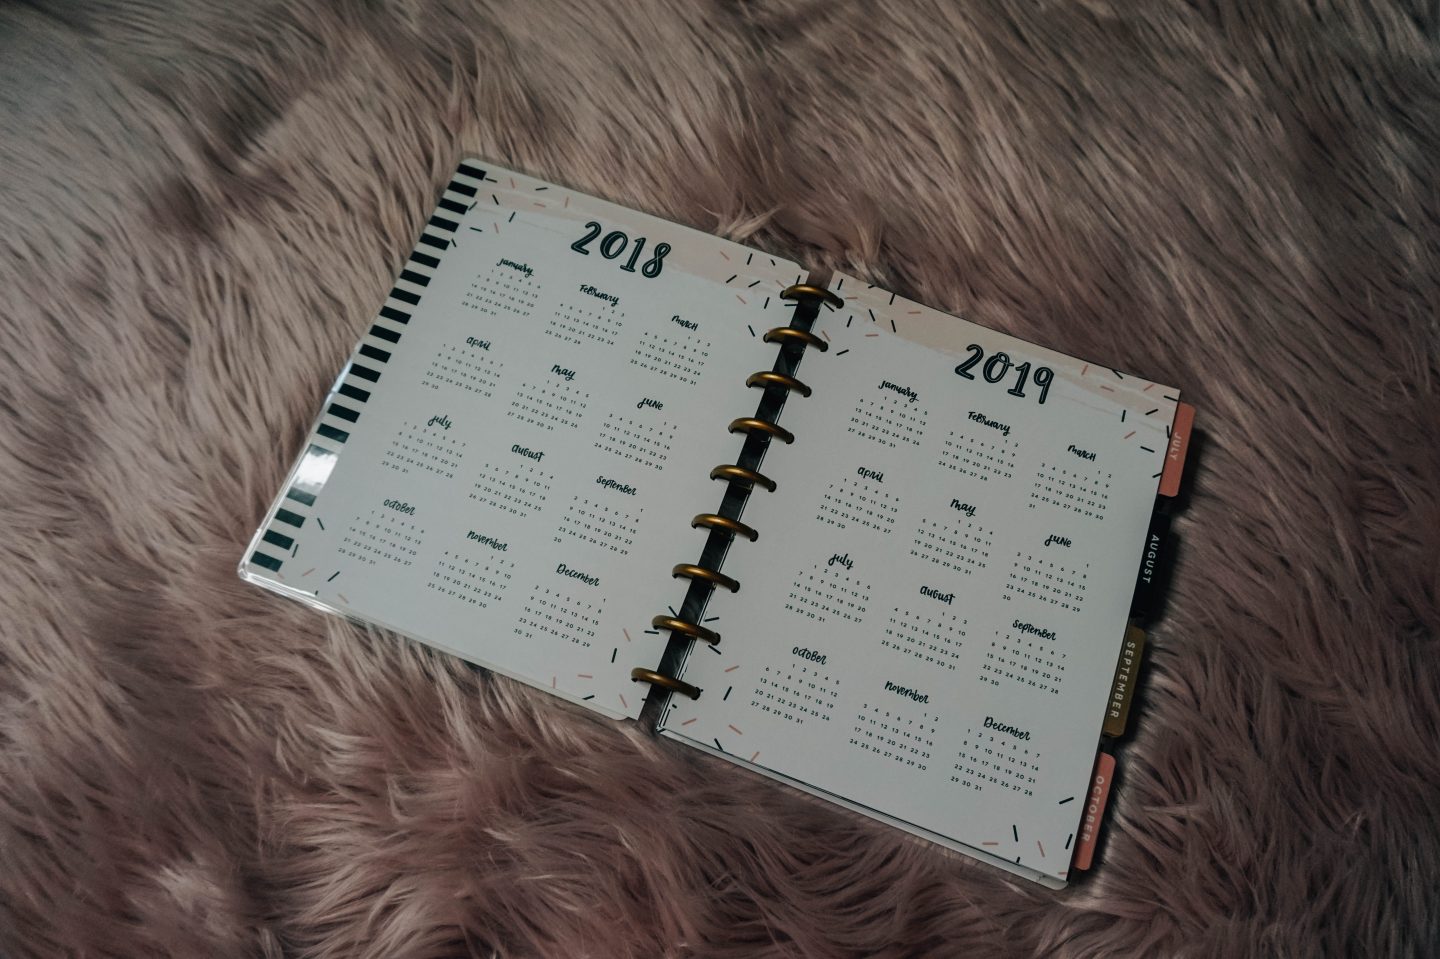
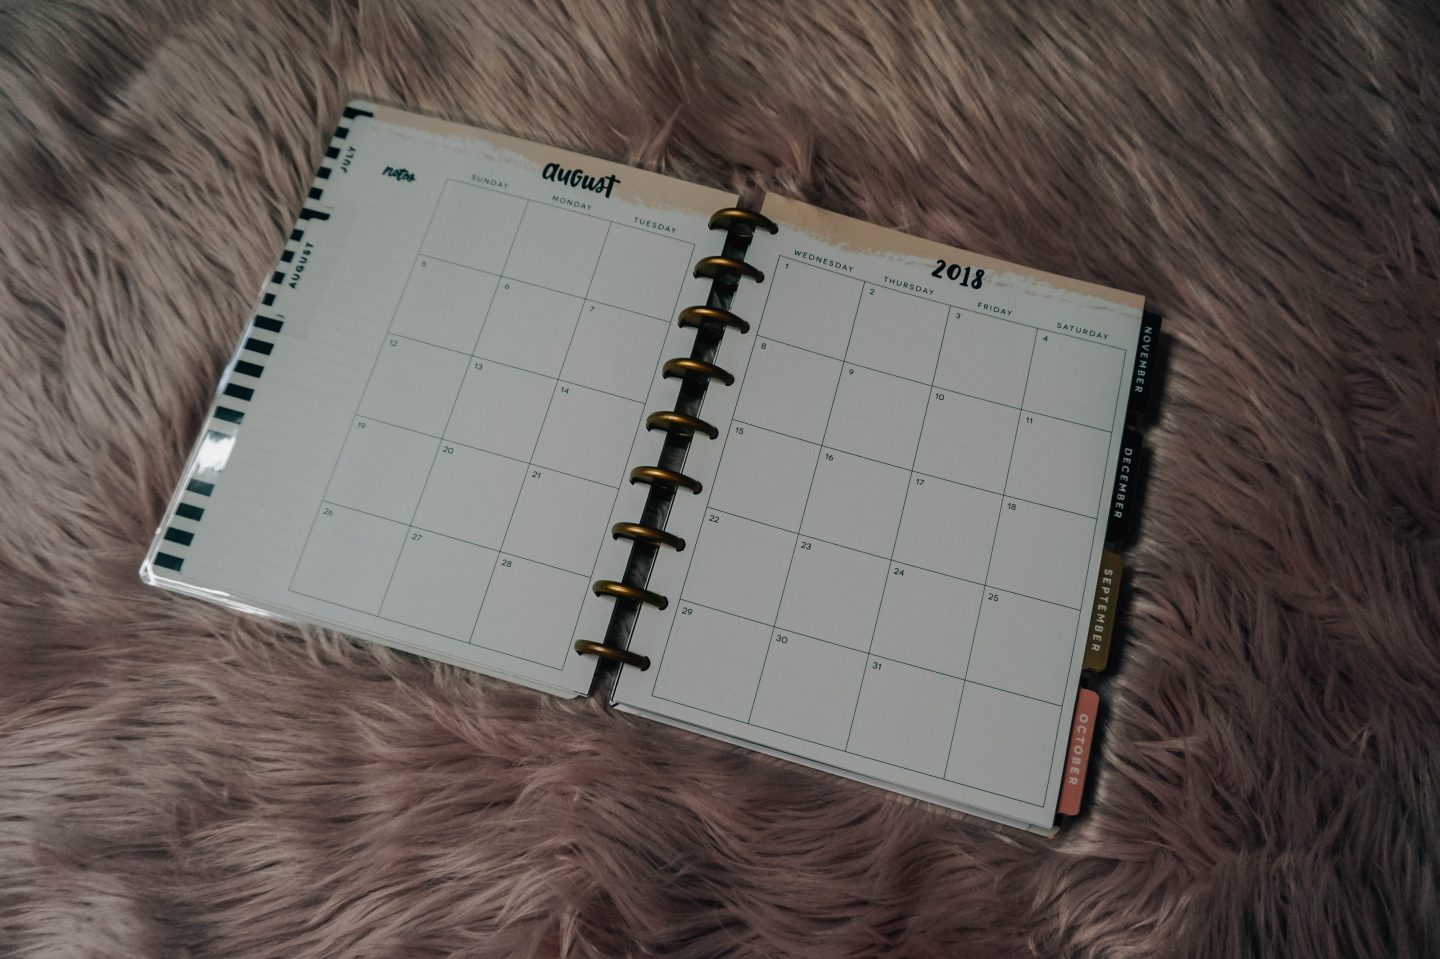
Each classic planner begins with the ‘year at a glance.’ I’ll be honest, I don’t really pay much attention to this, but it’s a nice touch to have. Then starts the monthly pages! Each month begins with a blank monthly calendar. For me, this is where I plan out things like blog posts, appointments, trips, events, etc. I complete this spread in nothing but pencil. Because things are constantly changing and being shifted around, I need to be able to keep my pages clean and organized, so I only use pencil! I learned that the hard way… Before the upcoming month starts, I’ll sit down a few weeks prior and plan out all of my blog content. I try to stick to a MWF schedule when it comes to blog posts. So, I’ll get out my notebook where I keep all of my prompts and ideas, and I will map them out throughout the month according to holidays, national days (national ice cream day, etc.), my travel schedule and major events happening. This allows me to plan ahead for photo shoots, things that I buy and the content that I need to create in advance for my posts. I also pencil in all of my appointments that I have, trips that I’m taking, events I’m going to or just plans that I’ve made in advance. The monthly spread is super helpful to me because I refer to it every week when I make my weekly spreads! On the sidebar I tend to keep a running list of outfits that I still need to feature on my Instagram/blog. It’s just an easy place to keep that running list and I’m able to cross things off as I go!
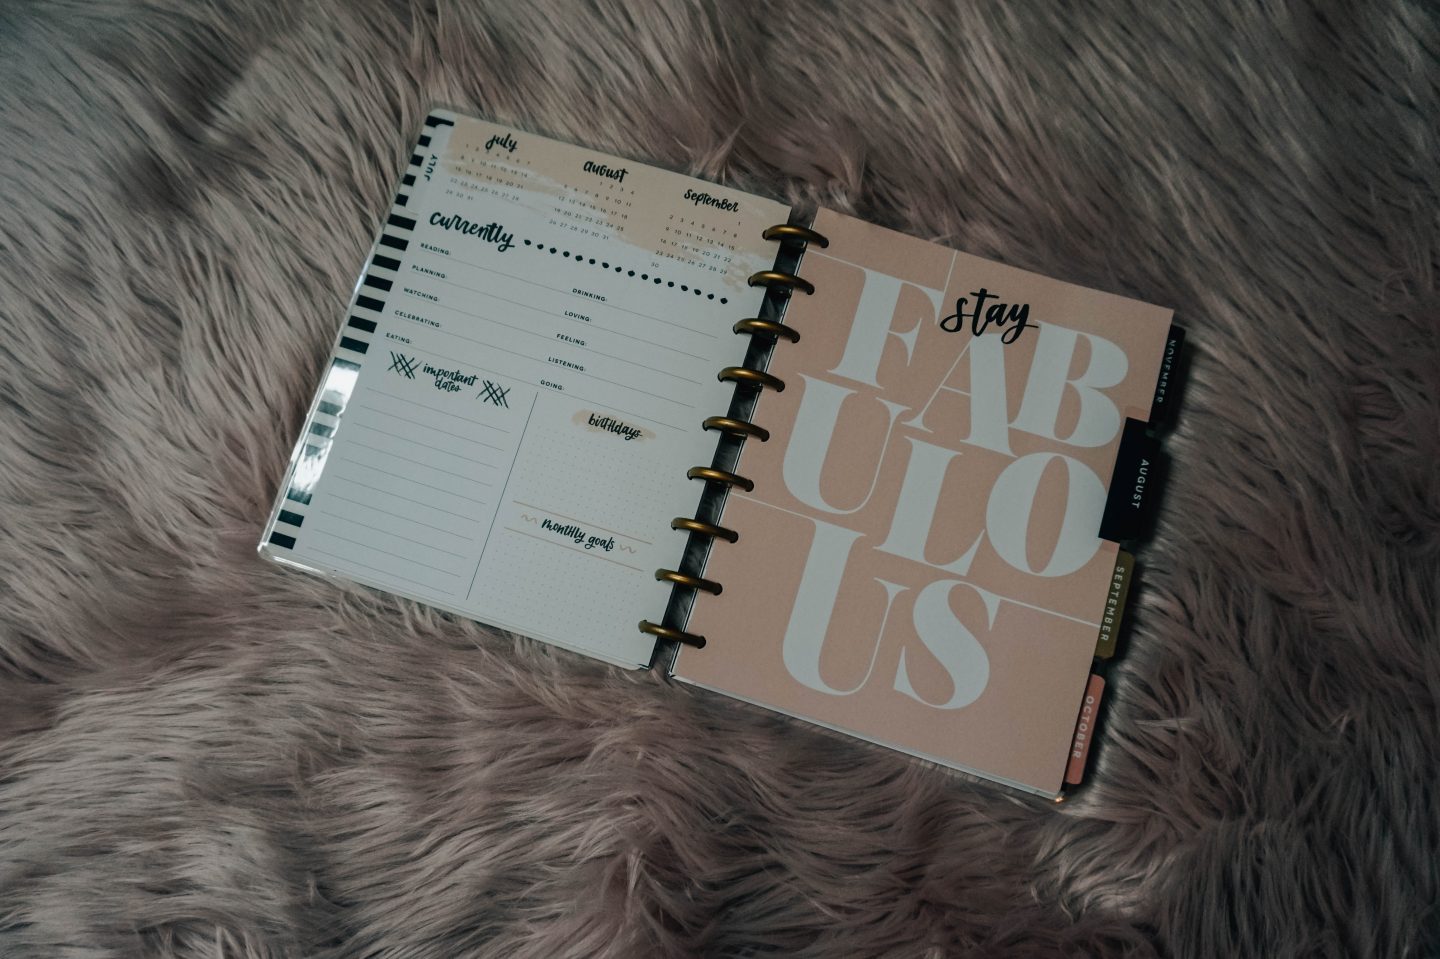
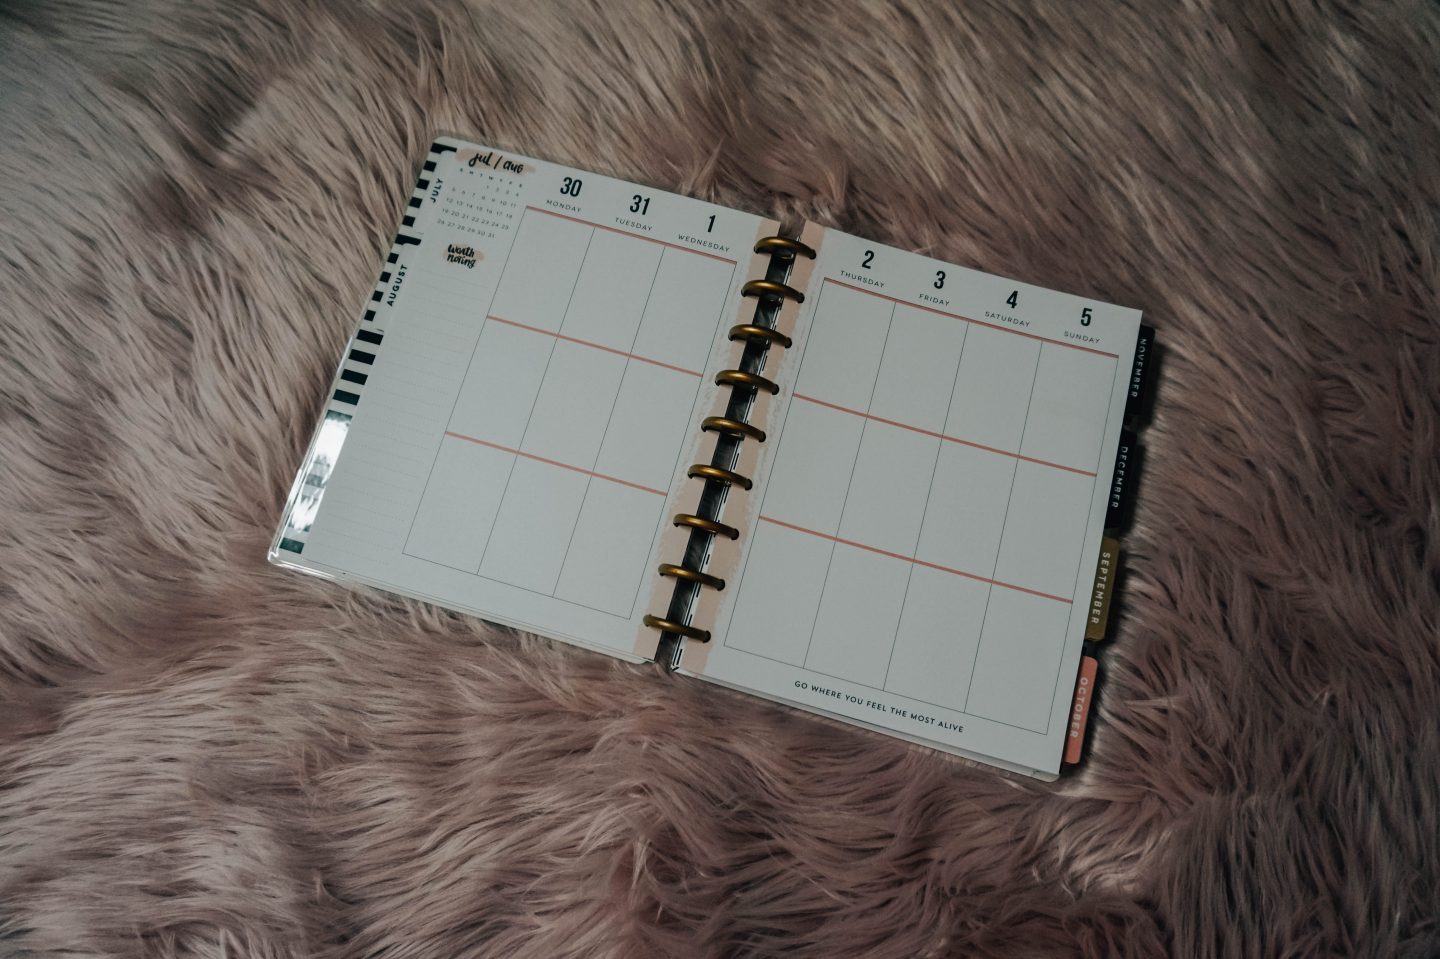
Also at the beginning of each month, there is a ‘currently’ page. This layout varies according to each planner. The planner that I have currently features the ‘currently’ prompts which I love! This allows me to sit down at the beginning of each month and think about what I want to accomplish, important things that are coming up and any goals that I want to reach. I’ve owned several Happy Planners, but I have to say that so far this one is my fav! In the ‘currently’ section it gives the following prompts: reading, planning, watching, celebrating, eating, drinking, loving, feeling, listening and going. Some people probably don’t bother to fill this out, but I think it’s fun and it gets me thinking proactively about the upcoming month. After that section, it has a place to list out any important dates, a section for birthdays and a section for your monthly goals. Also listed at the top are the 3 most current months at a glance! After I’ve roughly planned out my month at a glance, I start on my first weekly spread. This is by far my favorite part of planning and the planner in general! I always get the vertical weekly spreads because I find the layout to be more useful when it comes to organizing my days. Also, pretty much all of the sticker packs are designed for the vertical layouts and I use them all the time! For this new planner, the weekly spreads alternate the sidebar. One layout features a ‘worth noting’ section and the other layout features a ‘top priorities’ and ‘check it off’ section (absolutely love these!). Two other great features on the weekly spreads are the quotes that are scattered throughout the planner and the month at a glance that’s in the top left hand corner of the spreads.
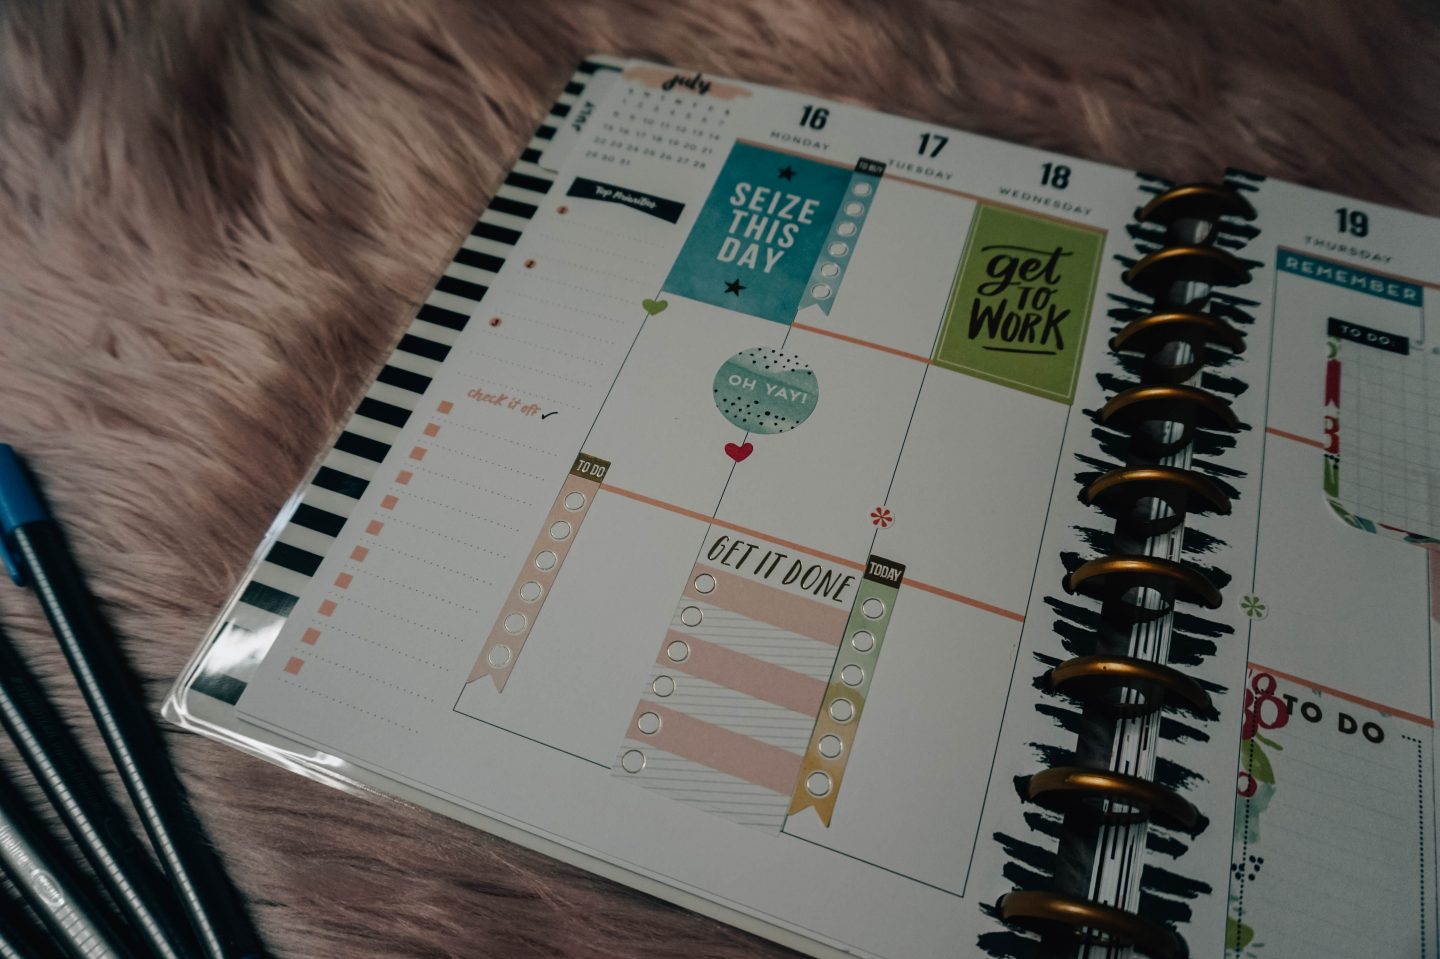
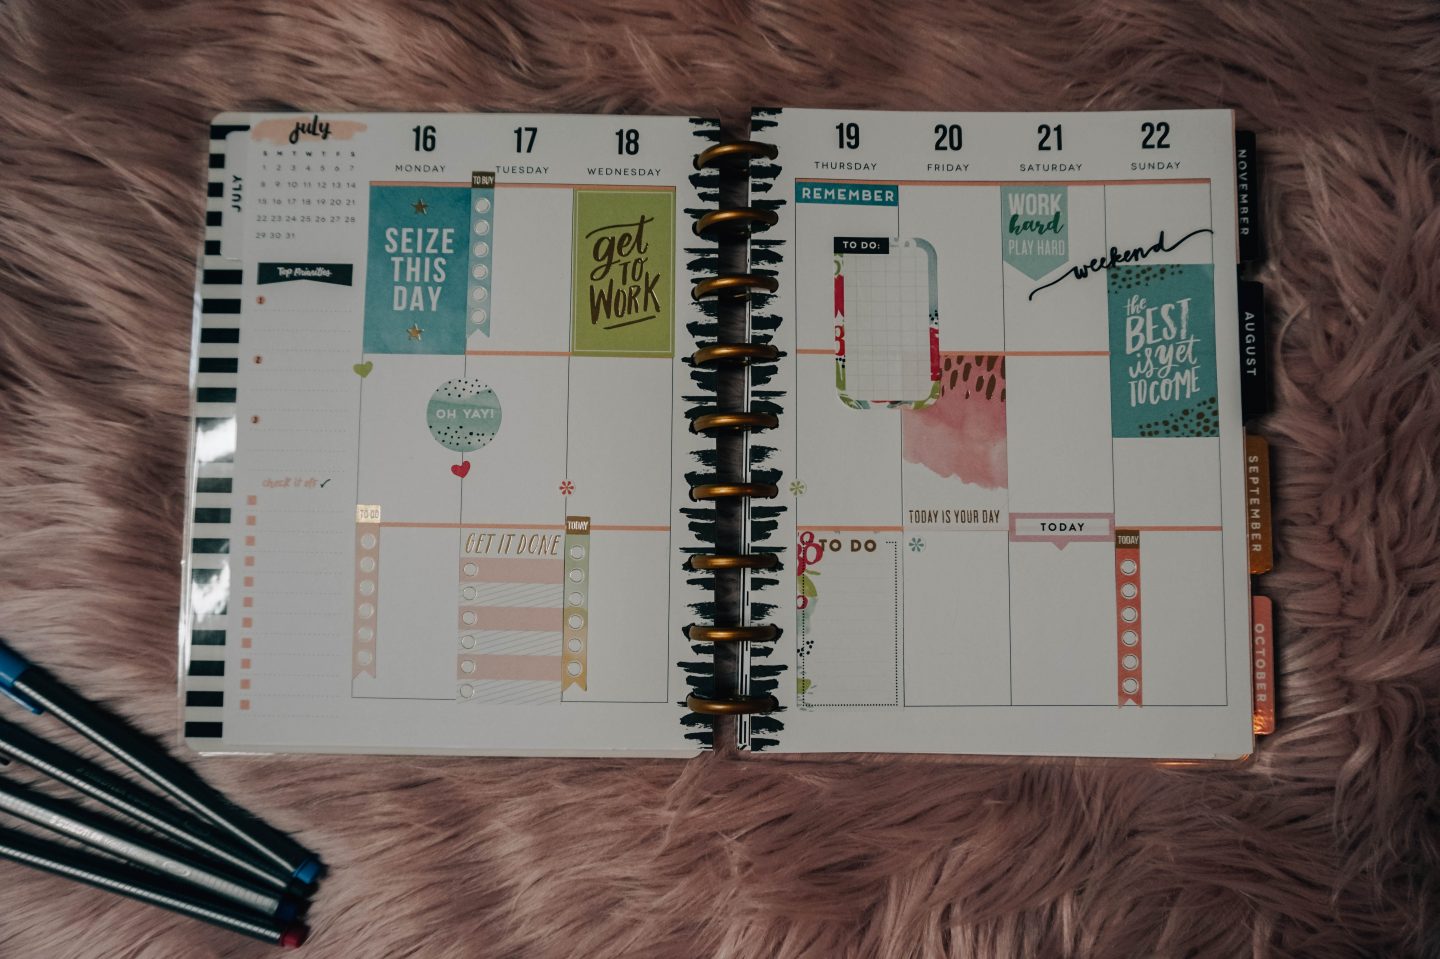
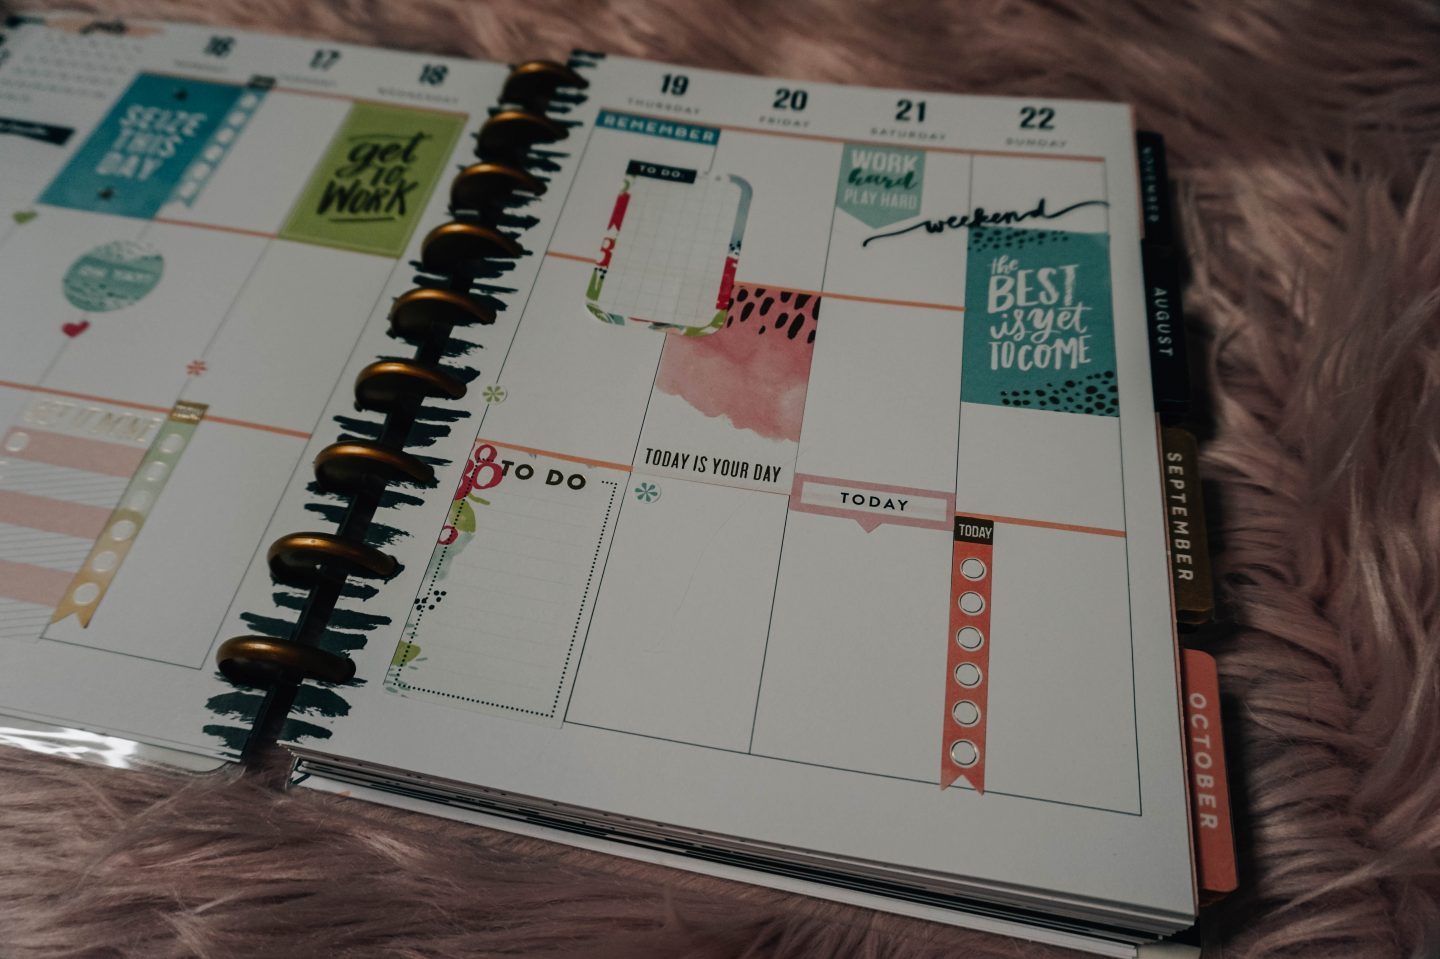
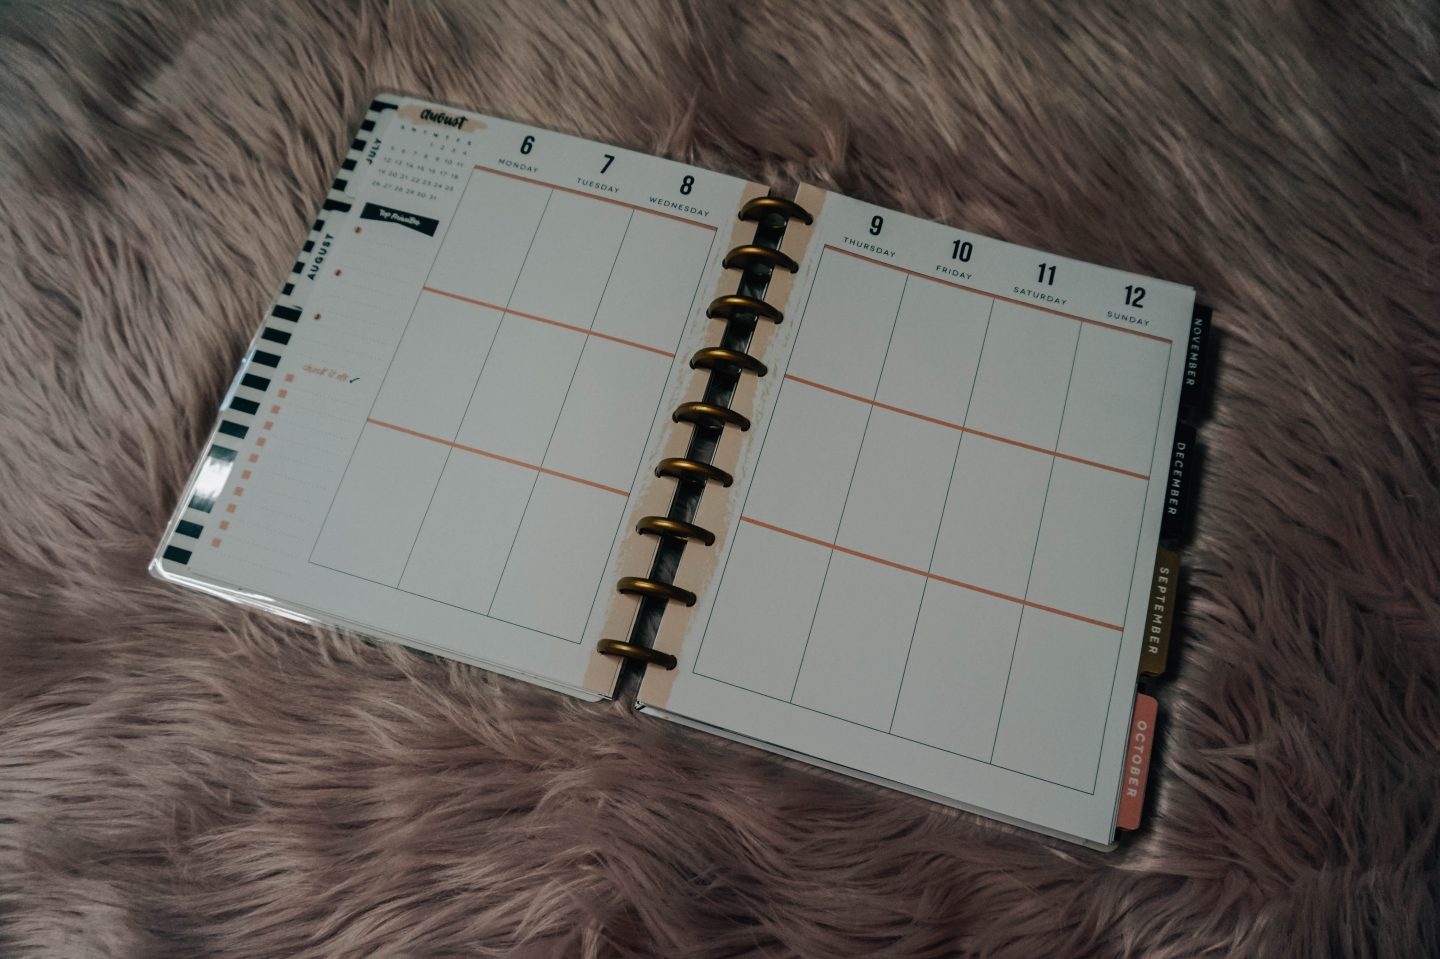
The way that I like to create my spreads is by breaking them down into ‘morning,’ ‘noon,’ and ‘night.’ I think of it this way because it helps me picture where to place my stickers in the layout, and it just logically makes more sense for me to do that as well. The layout that I’m featuring here is for a current week so that I could show you how I utilize my stickers! First, I start by going through my sticker packs and picking out a color scheme/theme to stick to for my layout. If it’s a holiday week or the beginning of a season, etc., I’ll kind of play off of that when choosing my stickers. Once I’ve decided on a theme, I take the large rectangular stickers and place them throughout the spread, keeping in mind where events and things are happening so that I’m still able to write them down in their respective time zones. While some of the rectangle stickers have quotes or patterns, some are designed to be interactive and written on, so I take that into mind as well. In the sticker packs, the pages are separated out so that one page of stickers can technically complete a layout. In addition to the rectangular stickers, there are corresponding ‘to do’ ribbons, quote stickers, dots/hearts for bullet points, label headers, banners and other stickers that fit the theme. Once the big stickers are placed throughout the spread, I will go in with the ‘to do’ lists, quotes, banner, labels and other stickers and place them where I see fit according to my schedule and responsibilities that week. I like to get creative with layering and placement, and then I will finalize the layout with other stickers like quotes, overlays, flowers and more. Once I’m done placing all of my stickers, I then go in with my pens and plan out my week. I try to make sure that my layouts aren’t too overdone with stickers so that I still have room to write everything I need to do!
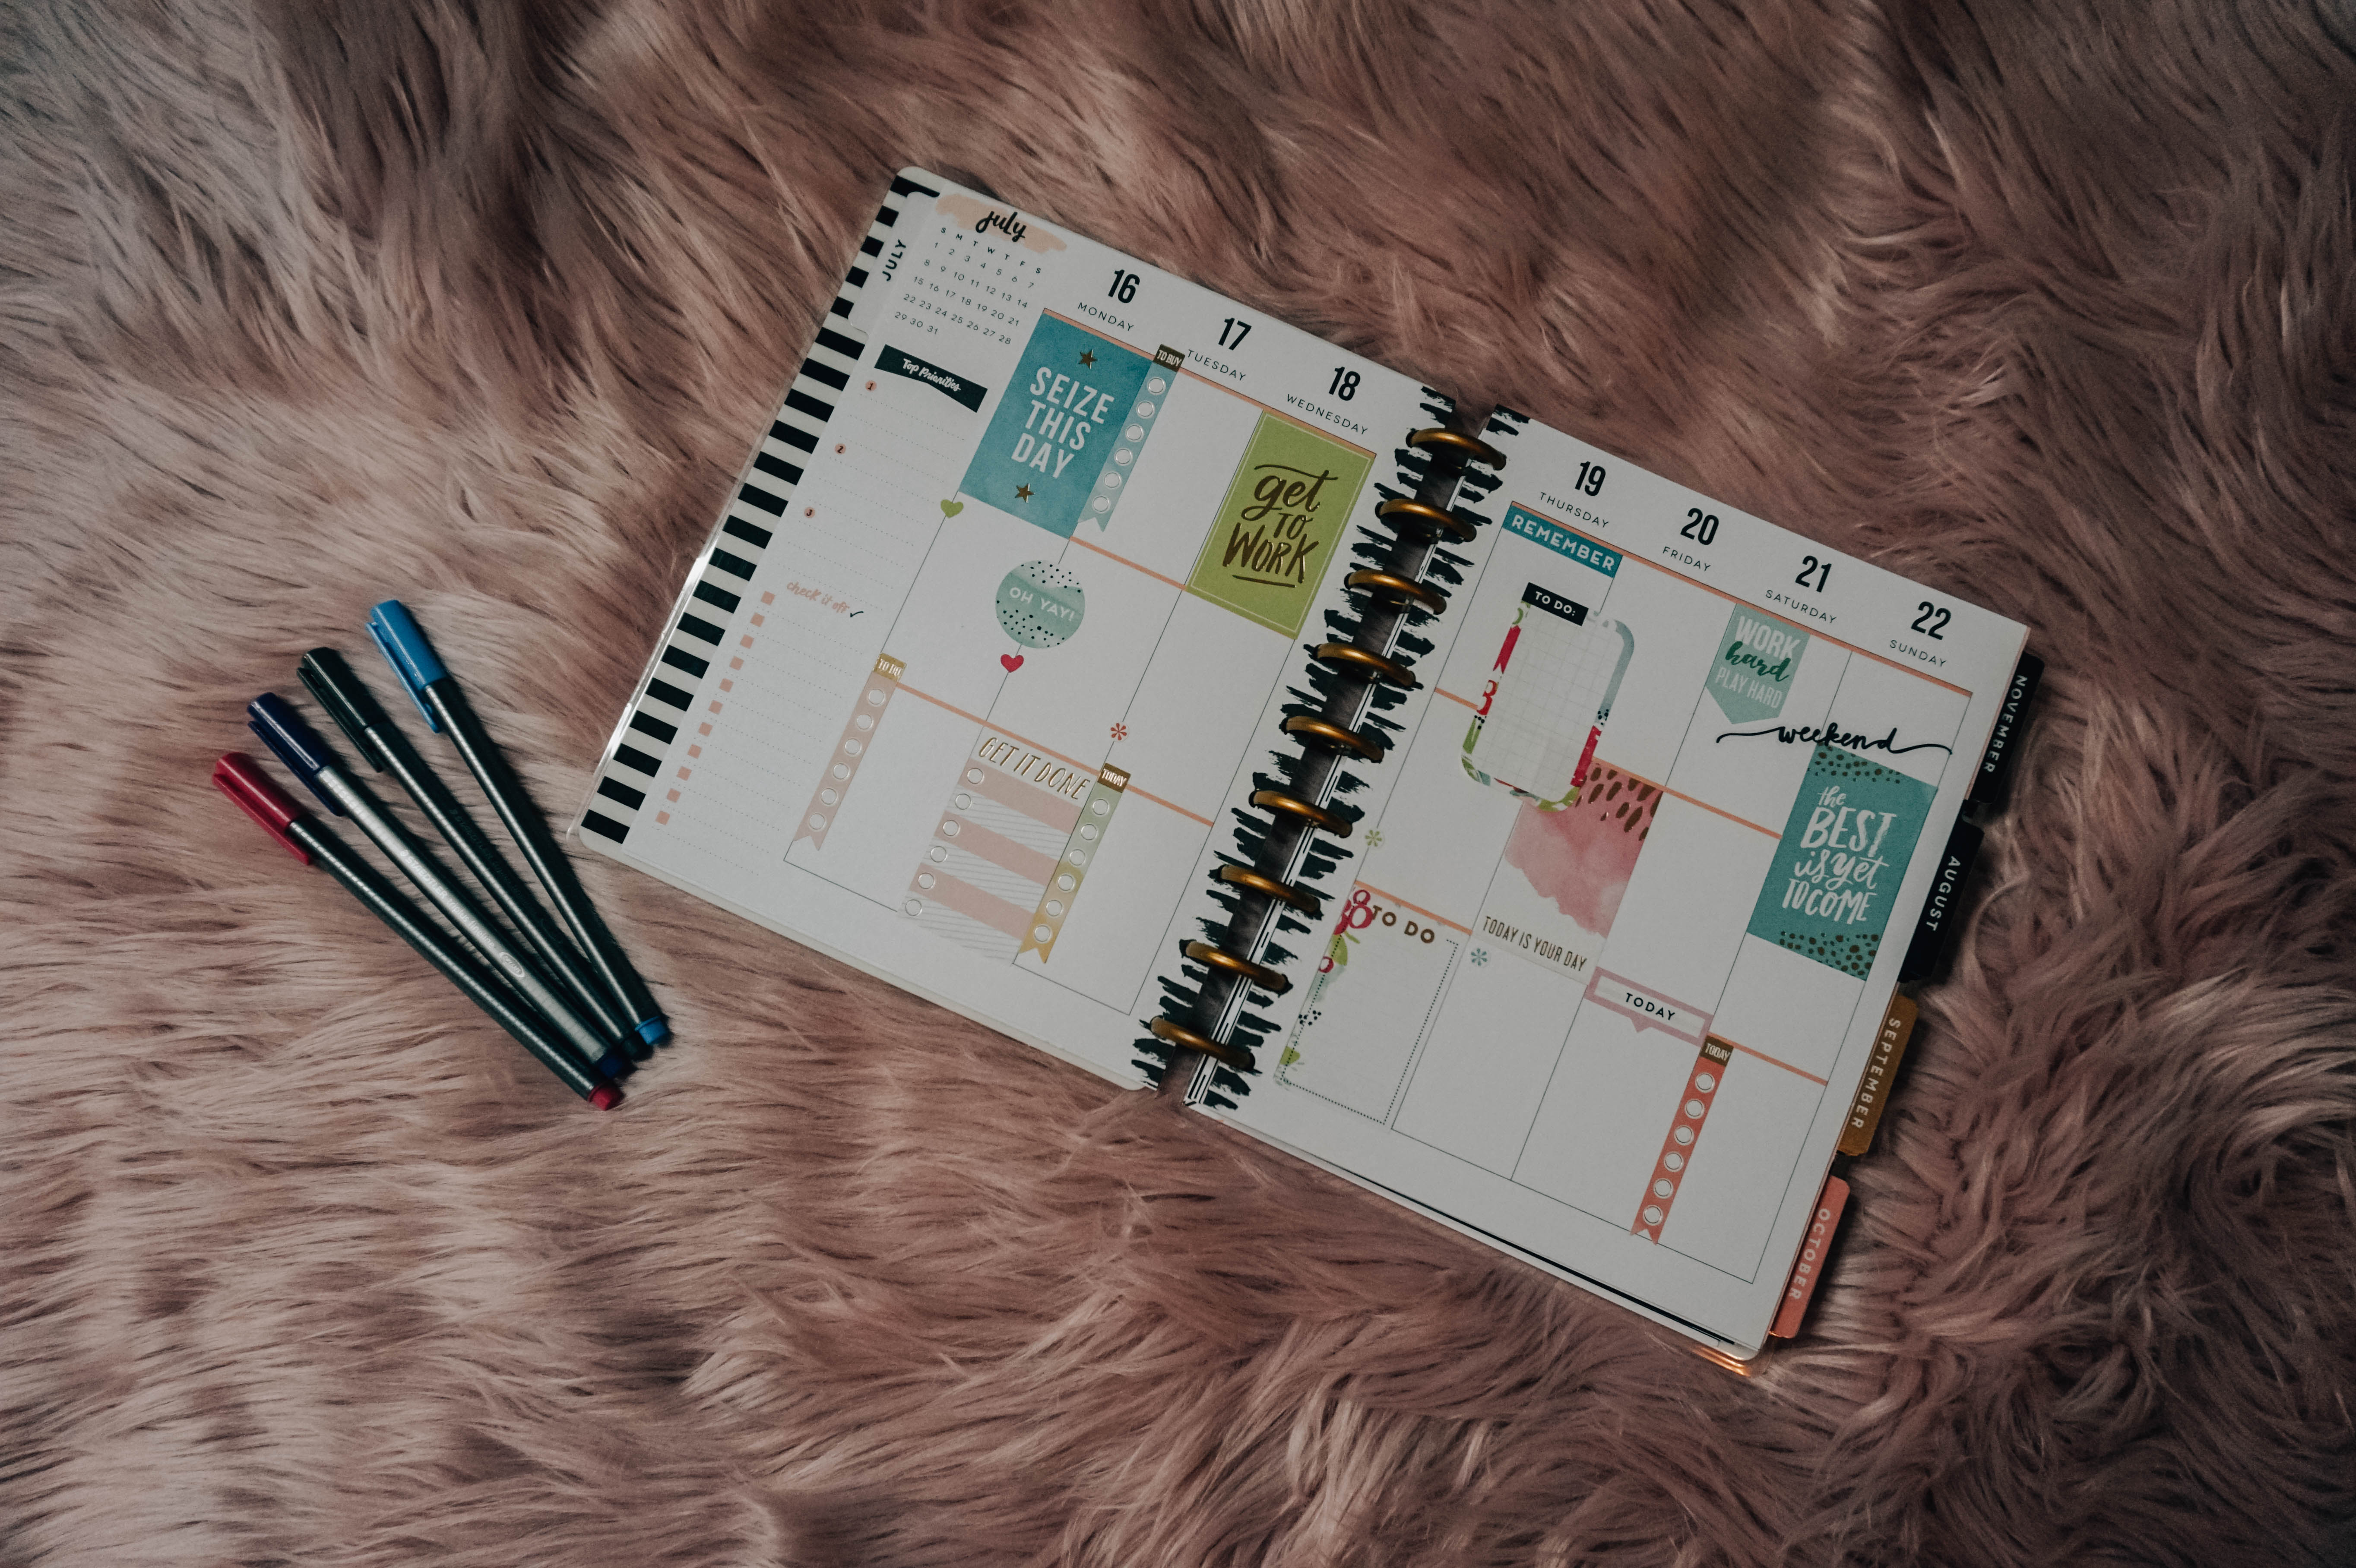
I don’t have a picture of my layout with all of my writing because I don’t want to disclose certain bits of information, but I can still explain how I write everything out! I use Staedtler Triplus Fineliner pens for my layouts. I love these pens because they don’t bleed, don’t transfer and aren’t too thick! For me, I’m super OCD and I color code my planner. This helps me easily visualize how I’m spending my time when I just glance over my layouts. I like to keep all of my blog stuff in blue, my work stuff in green, my personal stuff in pink, important things/events in red and then anything else that’s happening is written in purple or orange. I used to use pencil for my weekly layouts as well, but I didn’t like how dull it looked, so now I just use white out tape if I need to erase something and write over it. I never scribble anything out because it literally irks me! Throughout the week, if I complete a task, I cross it out cleanly with the same color that it’s written in. I know what you’re thinking…this girl is crazy! In addition to carrying my planner with me everywhere, I also keeps these pens in my bag.

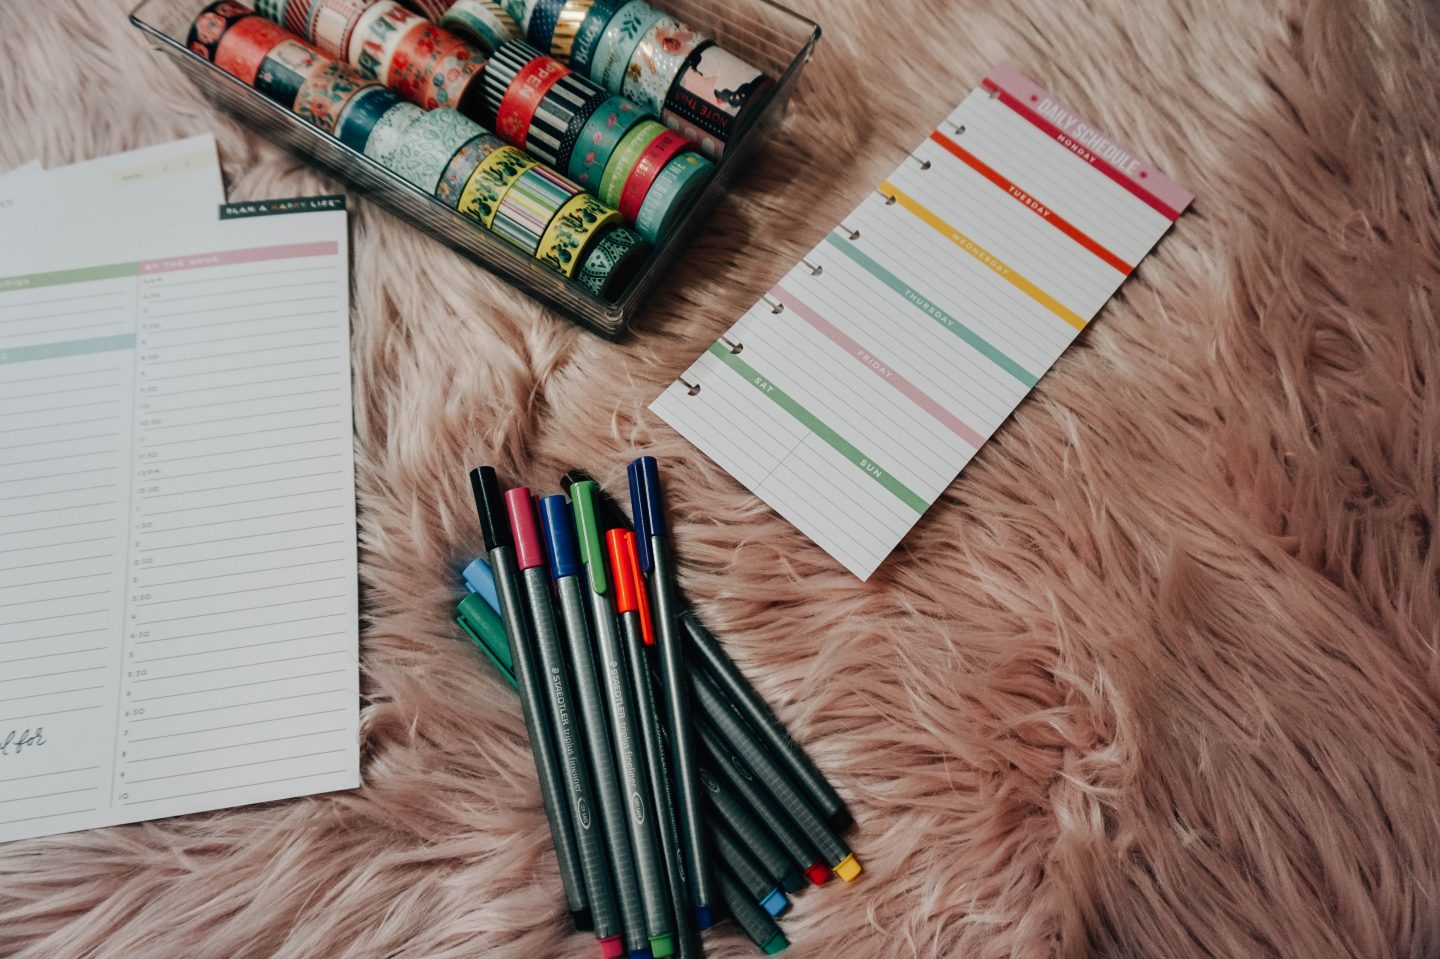
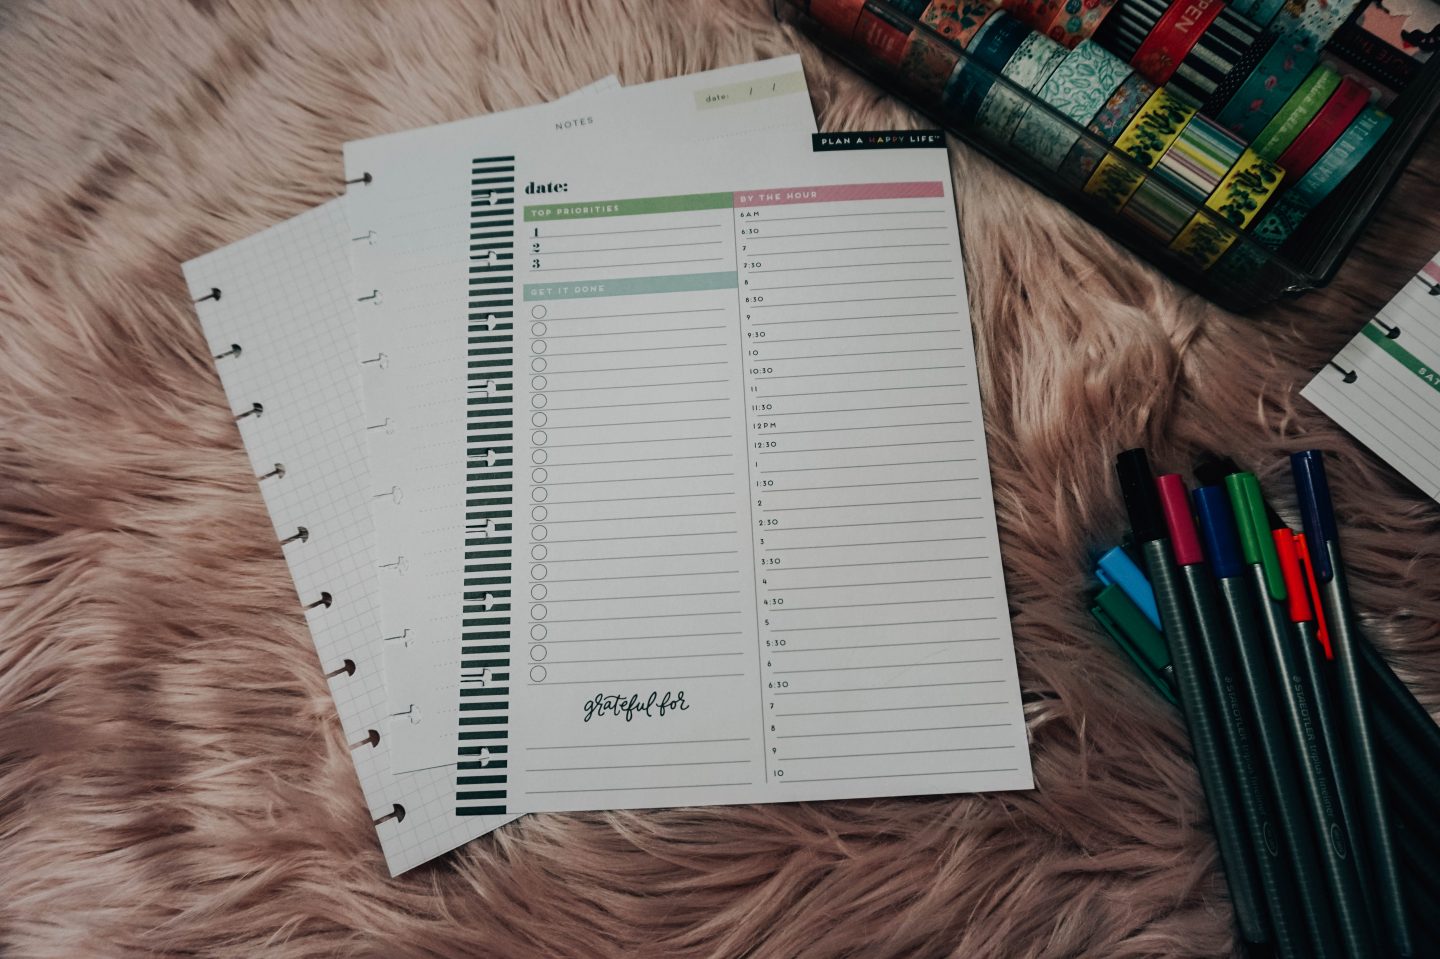

Now, let’s talk about all of the extras that I use to plan each week! First, and foremost, the stickers. I will say, these packs can be kind of expensive, but if you order them on Amazon, they are always discounted. Or if you purchase them at Michael’s, there is always a coupon to use with them! I own several sticker packs and I’ve actually used a lot out of them. I own one pack that is dedicated to holidays, so I will use these stickers for spreads that contain holidays, the start of a new season or events like birthdays. Then three of the packs contain the pre-planned themes. These contain the pages with the rectangular stickers and their corresponding stickers. I use these three packs each week to pick out what theme I’m going to use! Another sticker pack contains vinyl stickers of flowers and quotes. I use this sparingly to add dimension to my layouts! My last sticker pack is my latest one and I’m obsessed! This one is the productivity pack and contains to do lists and other stickers for my layouts that are great for reminders! Some other extras that I use for planning are my fineliner pens and washi tape. While I use the pens everyday, I often forget about washi tape. When I remember to get it out and use it in my spreads, I use it to add dimension behind other stickers. Lastly, I use Happy Planner inserts. Another thing that I love about The Happy Planner is how customizable they can be. Not only can you remove the spreads and pop them back in without damaging your pages, you can also purchase a multitude of packs to incorporate into your planners. My top insert is the half page weekly to do list. I place one of these into my spread each week. On the front, I plan out all of my Instagram content. This has been so incredibly helpful for me! On the back of the half page is a long checklist. This is where I keep my ongoing list of things that I need to get done that might not be something I get to this week, so I cross things off this list each week and then when I’m planning the next week, I just take off what I completed and add anything else that needs to be done. I also use this side to plan out all of my outfits for that week so I can get ready quicker in the mornings! Other inserts that I have are budget planners that I bought off Etsy, a daily to do spread that breaks things down by the hour, and then I have plain notebook/grid paper inserts as well. These are the only ones that I own but there is an insert for everyone! For example, they have a wedding planner pack, a fitness pack, a faith pack, and so much more! Another cool part about The Happy Planner is that you can purchase a hole puncher so that you can print and create your own inserts for your planner. One thing that I often do is after the month, or a few months, I will remove the months from my planner so that it’s not so bulky in my purse, but it doesn’t compromise the integrity of the planner like removing pages might do to another planner.
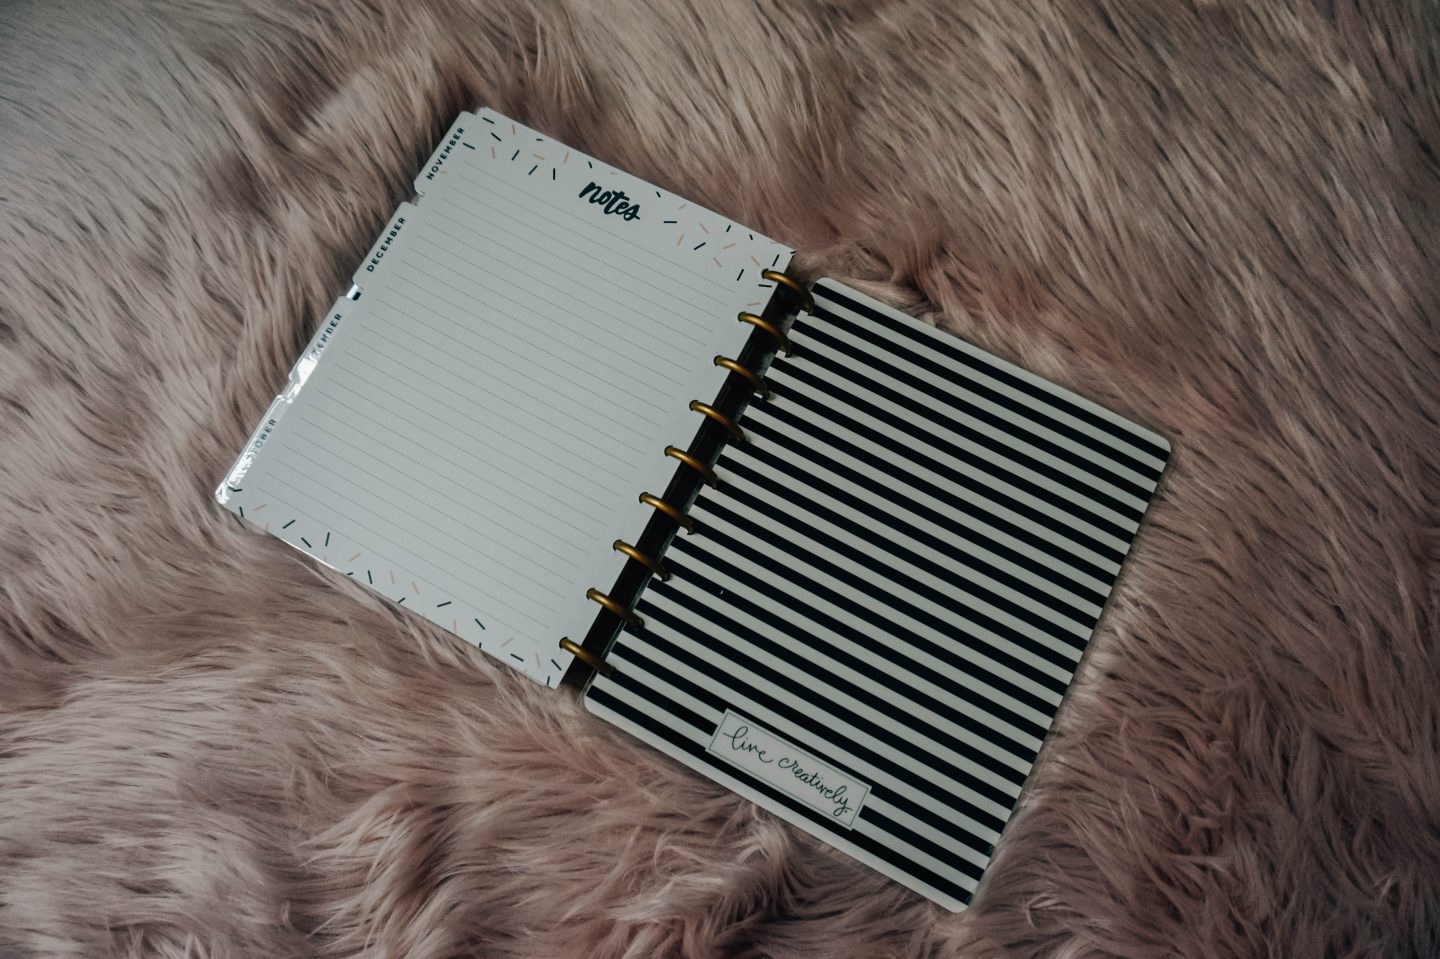
At the very end of each Happy Planner, there are a few notes pages! I don’t ever think to use them, but it’s nice to have them there. The last thing that I wanted to touch on is the durability of the planner. The covers are able to be switched out if you wanted to buy some of their covers that they offer separately, as well as the rings. I’ve definitely put these planners to the test. With transporting my planner all day everyday in a bag loaded down with so much crap, they have all held up so well. Sometimes the edges of the planner will bend a little bit, and obviously the planner can get scratched up, but they’ve never broken or gotten to a point where they’re damaged and unusable. They truly are so durable!
If you’ve made it this far, thank you so much for sticking around! I absolutely love to plan and keep my life organized, so doing weekly spreads in my planner is very therapeutic to me. If you suffer from anxiety and depression like I do, I’ve found that sitting down and planning out my life has really helped. I do this every Sunday afternoon and I really take my time on it. It allows me to zone out from other things going on and truly just focus on me and my life. This has helped me so much with time management, anxiety and not feeling overwhelmed. Some people will probably think this is all stupid and over the top, but it’s something that I really enjoy doing and honestly can’t live without. If you’re a planner like myself, leave a comment down below and let me know how you plan out your weeks and some of the items and techniques that you use! Happy planning, babes!